A quick tutorial on converting (transcoding) videos into different codecs and formats using ffmpeg and Handbrake
Videos come in various formats, sizes and qualities. If you’re working with online video, chances are you’ll need to convert between them at some point.
While there are many tools and online services you can use for video conversion, I’m particulary fond of two open-source tools available on all major platforms: Handbrake and ffmpeg.
FFmpeg is a swiss-army knife for video manipulation. You’re probably heard of it, or even use it daily for your video manipulation tasks. But if you prefer a GUI tool, Handbrake is a great choice.
Handbrake
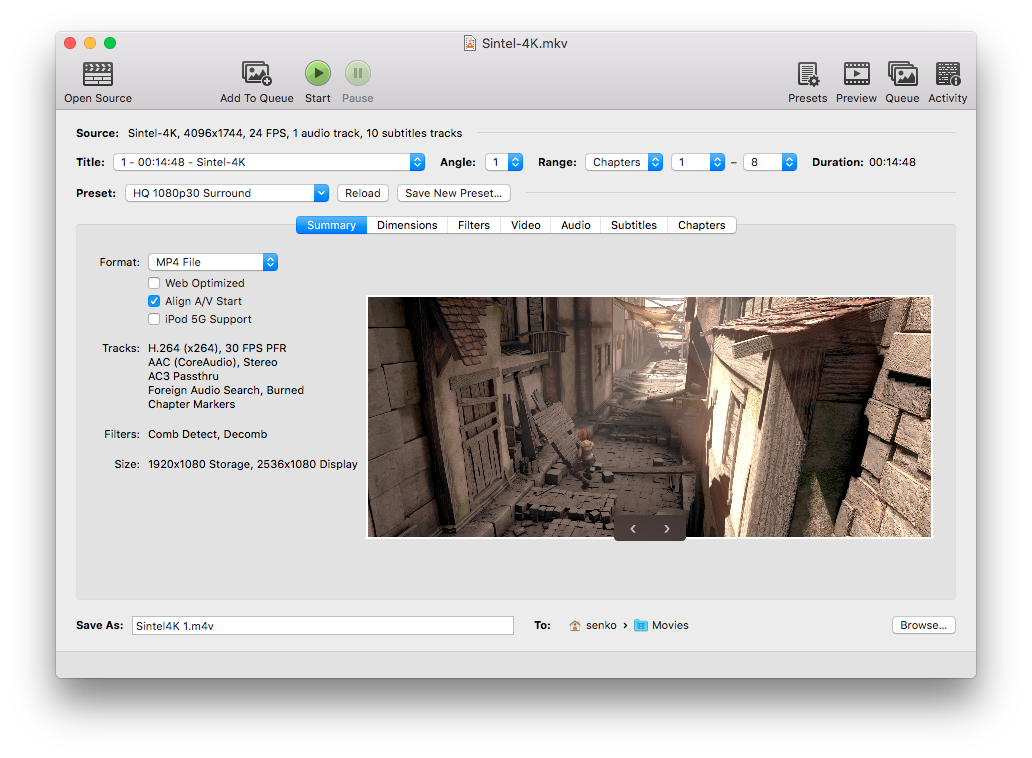
Handbrake is a great tool for manually transcoding (converting) videos, and strikes a good balance between user friendliness (select input file, select a quality or device compatibility preset, and off you go) and advanced options for power users such as tweaking encoder options, stream mapping and audio and video filters.
Handbrake also allows you to queue up multiple videos that all need to be converted in a same way. You can set up all the conversion options once and run the batch conversion process.
FFmpeg
FFmpeg is a powerful suite of libraries and tools for media manipulation. The namesake
ffmpeg command is a command-line tool that can ingest (use as input), transcode (convert), filter, mix-and-match
and output virtually all known audio and video formats.
If this sounds complex, it is. FFmpeg has hundreds of options and can support quite complex workflows. However, if all you need is a simple conversion from one video format to another, you don’t need to touch all this power.
Here are a few common scenarios:
-
Convert video to MP4 using H.264 (AVC) video codec, AAC audio codec, a combination compatible with virtually all modern devices and browsers:
ffmpeg -i <input> -c:v libx264 -c:a aac -f mp4 output.mp4Here
-c:v libx264selects the video codec to use,-c:a aacselects the audio codec, and-f mp4specifies the format to save in. -
Extract audio from video and save it as an AAC audio file:
ffmpeg -i input -vn -c:a aac -f mp4 output.m4aHere
-vntells ffmpeg to ignore video.
If the input and output audio codecs are the same, there’s no need to transcode - in this case, you can just pull
the existing stream out of the file by using the copy codec. This will be much faster than trascoding and it will
avoid quality loss.
-
Extract audio without transcoding:
ffmpeg -i input -vn -c:a copy -f mp4 output.m4a
The same applies for video codecs.
-
Remove audio tracks from the video without re-encoding it:
ffmpeg -i input -c:v copy -an output.m4v
Sometimes you need to merge multiple inputs into a single output video:
-
Combine video with the audio into a single MP4 file:
ffmpeg -i video-input -i audio-input -c:v libx264 -c:a aac -f mp4 output.mp4Here you can also copy the stream with
copycodec instead of transcoding, if you know the input file codecs are compatible with the output.
Often you’ll need to resize the video to specific width or height:
ffmpeg -i input -c:v libx264 -vf scale=-1:480 -c:a copy -f mp4 output.mp4
Here -vf scale=-1:480 specifies a video filter scale with output height of 480 - the -1 value for width
means it’ll be automatically calculated so the aspect ratio is maintained. You can also set the width and let
height autoadjust.
You can also cut a clip or create a thumbnail from the original video.
-
To cut a 1-minute clip starting from 25min30sec into the video:
ffmpeg -i input -c:v libx264 -ss 25:30 -t 1:00 -c:a aac -f mp4 output.mp4Here
-ssspecifies the start time and-tspecifies the duration of the clip. -
to grab a single frame and create a thumbnail of the video, you can do something similar but have the output format be an image:
ffmpeg -i input -c:v png -an -ss 25:35 -t 1 -r 1 thumb.pngHere we ask for the output clip to be 1s long (
-t 1) with framerate of 1 frame per second (-r 1), so we only get one image.
Tip of the iceberg
When it comes to ffmpeg, these few commands are just a tip of the iceberg. FFmpeg can be used for rearranging streams in a video file, panning and otherwise manipulating audio, color tuning and various filters and effects on video, and we haven’t even touched on the various network protocols for both input and output that ffmpeg supports.